In 2026, the barrier to selling online courses is no longer content—it’s complexity. If it takes you three weeks to configure a WordPress store just to sell one Moodle course, you’ve already lost momentum.
The Direct Path removes the CMS layer. By connecting Stripe Checkout to Moodle via Enrollait, you can go from “Course Ready” to “First Sale” in under 60 minutes. Here is the exact step-by-step blueprint.
The 60-Minute Launch Roadmap
| Phase | Task | Time Estimate |
|---|---|---|
| Phase 1 | Prepare Moodle Web Services | 15 Minutes |
| Phase 2 | Connect Enrollait to Moodle | 15 Minutes |
| Phase 3 | Link Stripe Webhooks | 15 Minutes |
| Phase 4 | Test Purchase + Go Live | 15 Minutes |
Phase 1: Open the Gates in Moodle
Moodle needs to be able to “talk” to the outside world. This requires a few simple settings inside your admin panel:
Enable Web Services: Go to Site administration > Server > Web services > Overview.
Enable REST protocol: Under Manage protocols, turn on REST.
Create a token: Create a web service token for an admin or service user. This token is the credential Enrollait uses to create users and enroll students after payment.
Phase 2: Sync Your Moodle Catalog
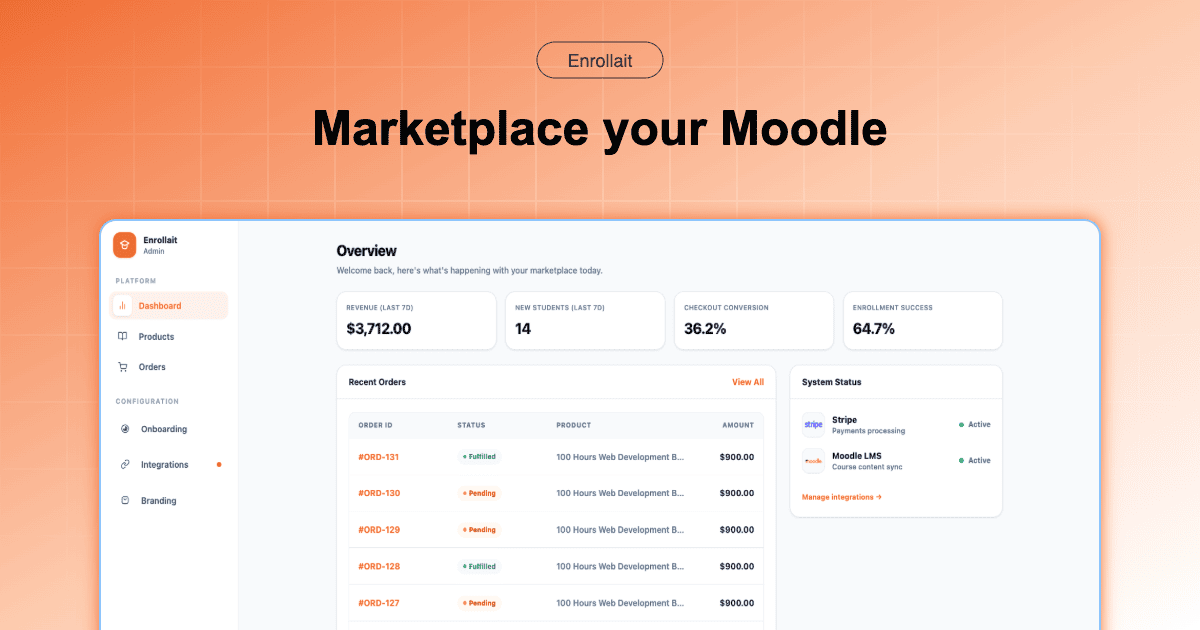
Log in to your Enrollait dashboard. This is where Moodle becomes a sellable catalog instead of a back-office LMS.
Paste your Moodle URL and the token from Phase 1, then click “Sync Courses”. Within seconds, Enrollait pulls your courses into the storefront so you can attach pricing and checkout.
Phase 3: The Stripe Handshake
Now you connect payments. You do not need to build checkout screens—Stripe Checkout is already optimized for conversion and compliance.
Connect Stripe: Use the one-click Stripe Connect button inside Enrollait.
Add the webhook endpoint: Copy the webhook URL from Enrollait and paste it into your Stripe Developer settings.
Select the event: Configure Stripe to notify Enrollait when
checkout.session.completedfires.
Phase 4: Test + Go Live
In Enrollait, open the course you want to sell and generate a Checkout Link.
Open that link in an Incognito tab, complete a purchase using a Stripe test card, then check your Moodle Enrolled users list. You should see a new user created and enrolled automatically. Congratulations—you’re live.
Why This Beats WordPress Every Time
When you sell direct, your stack has fewer moving parts: higher speed, lower security risk, and dramatically less maintenance. You replace a WordPress bridge with a direct Stripe-to-Moodle workflow designed for reliability.
“Don’t spend weeks building a store when you can spend an hour launching a business.”
FAQ
Do I need a developer to do this?
No. This guide is written for Moodle admins. If you can copy a token and paste a webhook URL, you can complete the setup in under an hour.
Will this work for existing courses?
Yes. You can connect Enrollait to any existing course in your Moodle catalog without changing your content or course structure.