Moodle is the world’s most powerful LMS for learning, but it wasn’t built for selling. To turn your Moodle site into a business, you need to connect three things: your courses, a payment gateway, and an automated enrollment engine.
The 3-Step Architecture
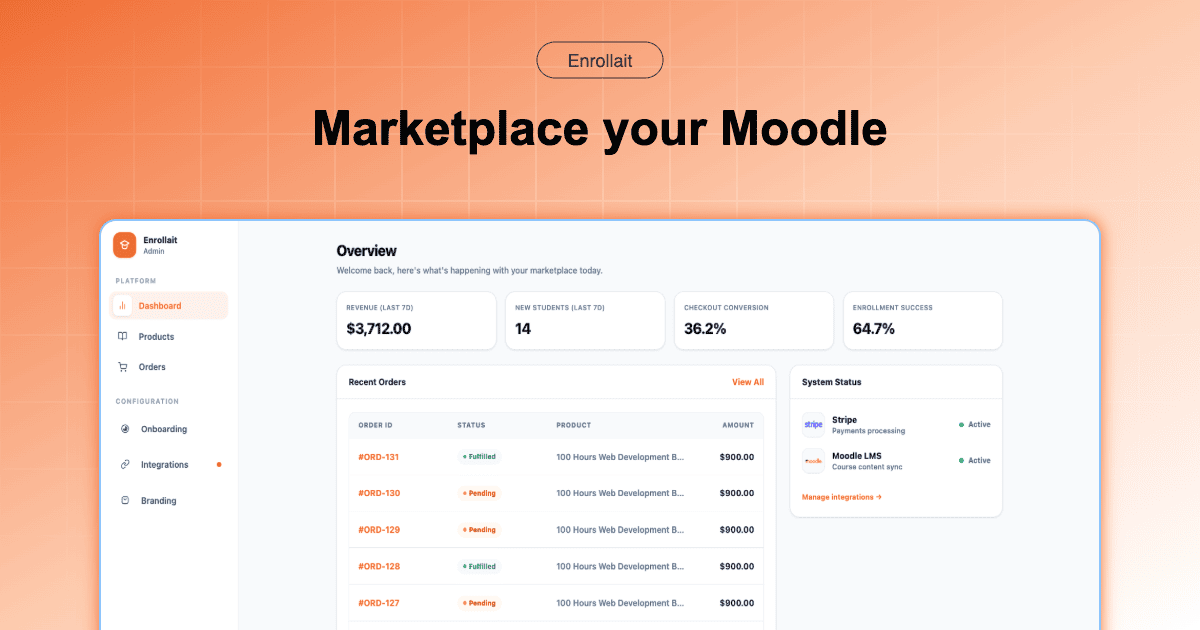
To sell successfully, your “Stack” needs to handle these three phases without manual intervention:
The Storefront: Where users browse your catalog and click “Buy.”
The Checkout: Where credit card data is securely handled (via Stripe or PayPal).
The Provisioning: Where the system tells Moodle: “User X paid; create their account and enroll them in Course Y.”
Step 1: Prepare your Moodle for External Access
You don’t want to give your commerce platform your admin password. Instead, use Moodle’s built-in Web Services.
- Enable Web Services: Go to Site Admin > Server > Web Services.
- Create a Token: This is a secure “key” that allows your storefront to talk to your Moodle.
- Protocol: Ensure REST protocol is enabled, as this is the modern standard for 2026 integrations.
Step 2: Choose your Selling Strategy
There are two primary ways to handle the “Storefront” layer:
| Feature | The “Bridge” Way (WP + WooCommerce) | The “LMS-First” Way (Enrollait) |
|---|---|---|
| Complexity | High (Requires 3+ plugins) | Low (No-code setup) |
| Maintenance | Updates can break the “sync” | Hosted & managed for you |
| Launch Speed | Days/Weeks | Minutes |
| Reliability | Depends on your hosting/caching | Deterministic (Direct API) |
Step 3: Automate the Post-Purchase Flow
The “Amazon-effect” means students expect access the second they pay. If they have to wait for you to manually email them, you will lose customers and get refund requests.
What a “Clean” Flow looks like:
Student pays $199 via your storefront.
Enrollait (or your bridge) checks if the email exists in Moodle.
If New: Create user account + Enroll in course.
If Existing: Simply add the new enrollment to their current dashboard.
Confirmation: Student receives one email with a “Start Learning” button.
Pro Tip: Always test your “Hidden Course” behavior. Ensure your storefront can enroll students even if the course is set to “Hidden” in Moodle so you can sell “Early Access” packages.
Step 4: Marketing your Moodle Store
Once the plumbing is connected, focus on these three high-ROI activities:
- Course Bundling: Sell 3 related courses for the price of 2. It increases your average order value instantly.
- SEO-Friendly Descriptions: Don’t just list the syllabus. Explain the transformation the student will experience.
- Abandoned Cart Recovery: Use a checkout system that captures emails early so you can follow up with users who didn’t finish their purchase.
Conclusion
Selling Moodle courses doesn’t have to be a technical nightmare. By separating your Learning Environment (Moodle) from your Sales Environment (Enrollait), you get the best of both worlds: a world-class LMS and a high-converting modern storefront.
FAQ
Can Moodle process payments natively?
Moodle has basic PayPal and Stripe plugins, but they offer a poor user experience and no "storefront" feel. Most professional sellers use a dedicated commerce layer like Enrollait.
How do students get their login details?
Ideally, the system should create the Moodle account instantly upon payment and email the student a secure link to set their password. This removes manual admin work.
Do I need a separate website to sell my courses?
Not necessarily. While you can use WordPress, a dedicated Moodle storefront platform can host your course catalog and handle checkouts directly.